After our review on melonJS we decided it is time to help you get started. The documentation is good but it can be a little challenging to get started.
There is a useful tutorial on the melonJS website as an introduction but this largely focuses on editing an existing game rather than the creation of a new one, which we are going to look at today. If you are wondering if melonJS is right for you then we have an exhaustive review [link].
This tutorial is going to focus on using TypeScript rather than JavaScript. There is an ongoing debate in the community to which is best but it still really comes down to personal preference. If you know the difference and just want to jump straight in then you can skip the next section where we identify the differences.
Typescript vs. JavaScript

Most people know what JavaScript is but for those who don’t it started as a script-based language for making client-side changes in the web browser. This can mean reacting to events (like a button press), moving elements around on a web page, popping up an alert box. JavaScript has moved on a lot and now is used for lots of purposes (mainly from the introduction of Node.js). We won’t go into that right now as it isn’t applicable for this tutorial but if you want to find out more you can head over to the Node.js website.
“TypeScript is a free and open-source high-level programming language developed by Microsoft that adds static typing with optional type annotations to JavaScript. It is designed for the development of large applications and transpiles to JavaScript.”
Wikipedia

So, to run through the definition above TypeScript is JavaScript but introduces types (where JavaScript is loosely typed) plus some other bells and whistles. As an example JavaScript will let you create a variable and first set its value to 1 and then later change it to ‘a’. This uses two types, first a number than a string. In TypeScript you can define types (or they can be inferred), so with the example above if you set a variable to 1 then it won’t let you change its type to a string later.
One of the main benefits of TypeScript is the intellesence which comes along with it. As good IDEs/editors should understand the types you are using then it is able to give you some help along the way.
TypeScript is transpiled into JavaScript, you might be wondering what on earth that means? Transpiling meant to convert one script/programming language to another. As we mentioned earlier TypeScript is strongly typed Javascript. This means when you transpile your TypeScript it generates JavaScript which is then used in the browser. Your browser doesn’t understand how TypeScript works only JavaScript. This means if you want to you can mix and match JavaScript straight in your code (but we wouldn’t advise it). It also means you can use JavaScript libraries in your TypeScript code.
Hopefully that gives you enough information and hasn’t scared you off TypeScript. If you are familiar with JavaScript it will largely be a home-from-home.
Dependencies
Before we start coding we need to cover some basic dependencies.
Firstly you will need a code editor, at code monkey club we always recommend Visual Studio Code. It is a free IDE from Microsoft with lots of functionality [link]. That said, if you already have an editor or IDE you are familiar with then you can use whatever you prefer. The tutorial will continue assuming you are using Visual Studio code but you should be able to adapt to your need.
The only other dependency is Node.js, you will need this installed to allow you to run your dev server no one wants to keep having to upload everything to a production environment to develop right? Node.js is a really simple install and can be downloaded for free from the official website. At time of writing 18.16.0 was the version used but future versions should remain compatible. When downloading we suggest you download the LTS (long term service) this will likely be shown after the version number.
Boilerplate
We worked with melonJS to create a new boilerplate as a starting point using TypeScript. The boilerplate gives you a nice shell to start development without manually having to get all of the packages/dependencies etc. all that hard work has been done, so you can just focus on the coding.

Head on over to GitHub and clone the boiler plate repo found here. If you are new to Github and Git then we have a set of tutorials to help you get started.
For those already “in the know” the boilerplate uses:
- melonJS2
- Vite
- ES5 (by default)
For those who haven’t got a clue what the above means then don’t worry you won’t need to understand it for this tutorial.
The final step is to go and download all of the packages which the boilerplate uses. The good news is using then this is just a simple command. At the top level folder you an simply enter npm install in your terminal, sit back and wait. This will automatically download all of the prerequisites you need.
Hello World!
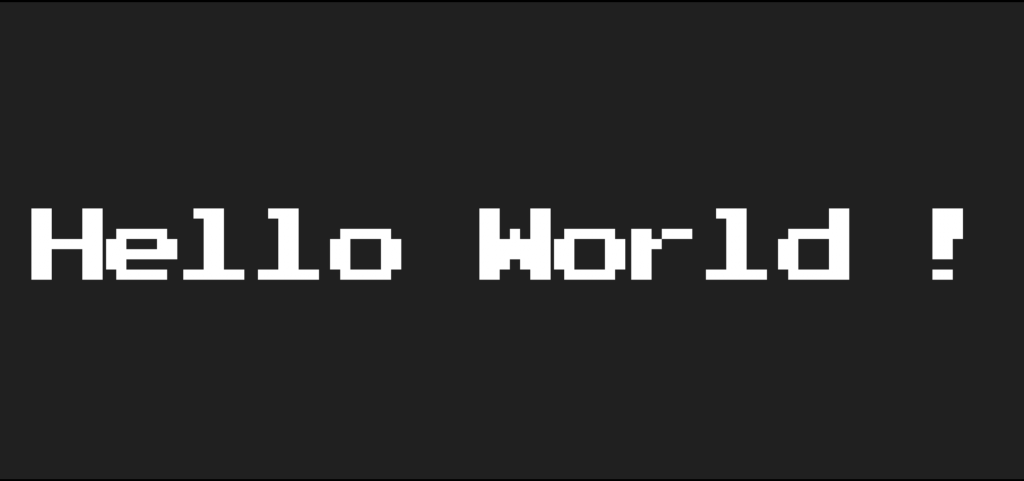
Now you have your repo cloned then you are ready to check everything is working as expected. To do this head over to the terminal (either in Visual Studio Code or PowerShell) and enter npm run dev. This will create a development server for you. Once it is up and running you should be able to head over to http://localhost:5173 in your browser. If everything has worked, you should see the below on the screen:

So, you are now all set to start with melon.JS to create your own game! Take a look at the next tutorial to add an animated character to the world.
The icons in this page come from icons8.com which is a great source of icons for many purposes.

Leave a Reply